
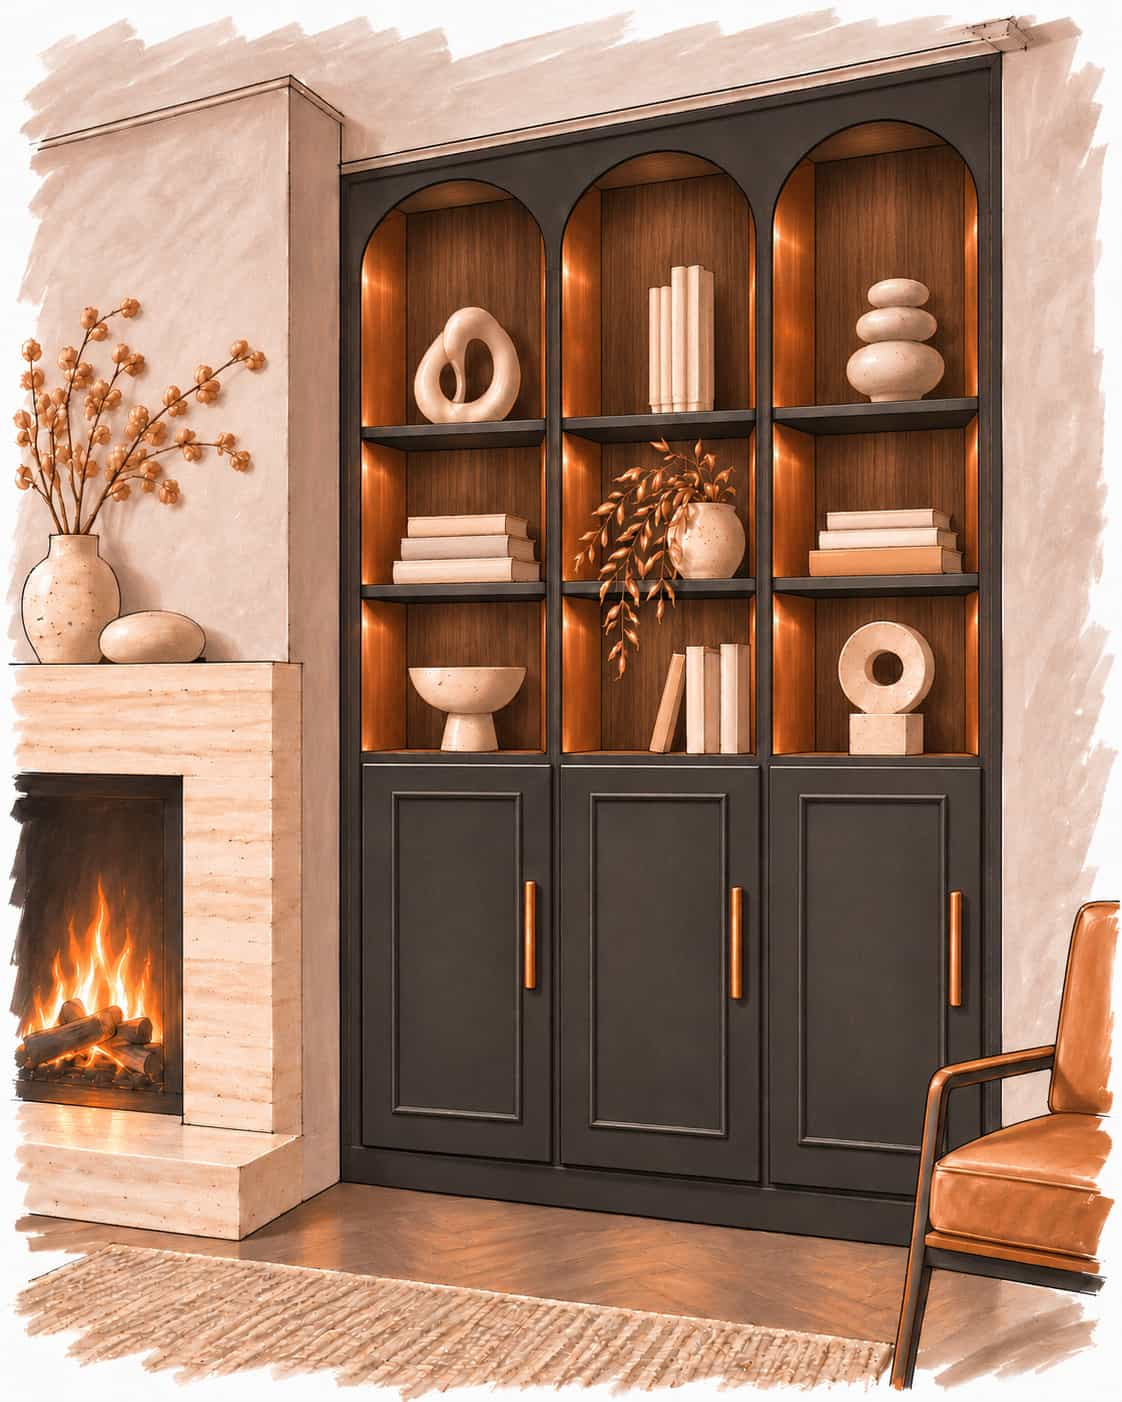
Three narrow arches, a deep graphite finish and warm walnut shelving give this IKEA BILLY concept the appearance of a much more expensive fitted bookcase.
Designed to sit in an alcove beside a fireplace, it combines open display shelves with three lower cupboards. The copper-effect interior sides bring an unexpected touch of warmth, particularly against the dark cabinetry.
The starting point is surprisingly straightforward: three slim IKEA BILLY bookcases, modified OXBERG doors and a thin MDF facing to create the arches.
This post may contain affiliate links. See my full disclosure here for more info.
Original Hacksaholic design concept; illustrated project, not a completed or tested build.
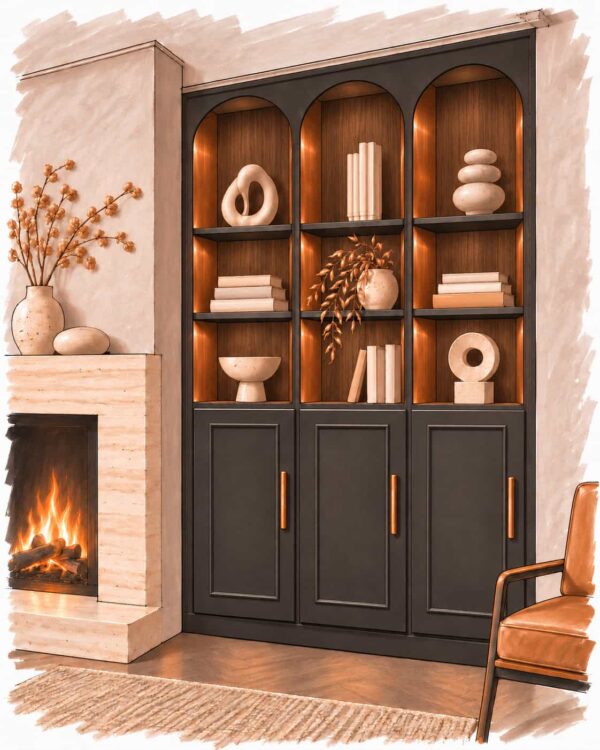
Why This Arched BILLY Design Works
What appeals to me most about this design is how little the underlying furniture needs to change.
The three BILLY bookcases retain their original rectangular construction. The arches are simply decorative openings cut into a flat panel fitted across the front.
This is an important distinction. There’s no need to construct curved shelving compartments or complicated arched interiors.
The graphite frontage ties the three separate units together, while the walnut-effect shelves provide a warmer contrast. Copper-effect side panels catch the light inside each opening without requiring the entire bookcase to be covered in metallic material.
The lower doors balance the open shelving visually and provide somewhere to hide the less attractive things we all need to store.
How I’d Approach the Build
1. Start with Three Narrow BILLY Bookcases
I’d use three 40 cm-wide BILLY bookcases in the brown walnut-effect finish.
These measure 40 cm wide, 28 cm deep and 202 cm high, giving a combined nominal width of 120 cm.
The walnut finish is particularly useful because it eliminates the need to recreate the wood effect on the back panels.
The units would need to be positioned, levelled and securely fixed to the wall before adding the decorative facing.
2. Create the Arches from Thin MDF
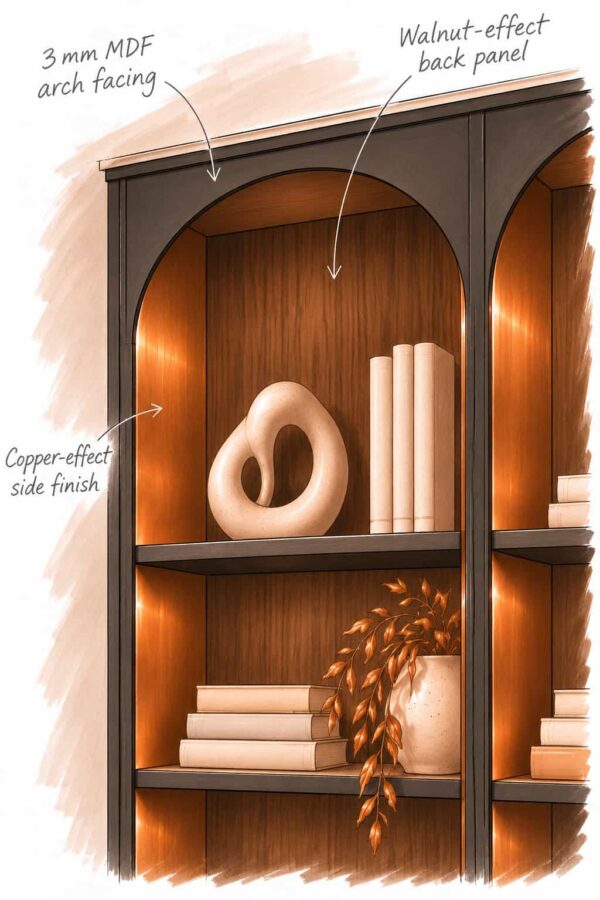
Rather than cutting one tall, complete panel with all three arches, I’d make just the top piece with the three arches, down to where the arch finished, then add the lower strips later. I’d do this in 3mm MDF.
I’d mark the three arches onto this first piece using a small length of wood screwed to the center point of the arch, with a pencil taped to the top, then cut them carefully with a jigsaw.
This approach avoids the difficulty of trying to make three separate arch panels meet perfectly without visible joins. It should also use less sheet material than cutting a complete frontage from one large panel.
Separate vertical MDF strips would then cover the joins between the BILLY units, stopping just above the doors.
The main challenge is getting the arches identical and ensuring the thin facing sits neatly against the original furniture. A template would help with consistent curves.
3. Add Decorative Beading to the OXBERG Doors
For the lower storage, I’d use IKEA’s 40 × 97 cm OXBERG doors.
There’s no need to manufacture completely new doors simply to achieve this appearance.
I’d add narrow decorative beading to the existing fronts, forming a rectangular frame on each door.
This is a relatively accessible modification requiring only:
- Decorative timber or MDF beading
- A mitre box
- A fine-toothed handsaw
- Suitable wood glue or grab adhesive
- Filler, primer and paint
The important detail is using adhesive sparingly. Excess glue squeezing out around the moulding creates unnecessary finishing work.
I’d dry-fit the beading first, check that all four mitres close neatly, then glue it in place.
The additional moulding must also clear the surrounding frame when the doors open.
4. Introduce the Copper Interior
The brown walnut-effect BILLY already provides the wood-grain back panels.
For the copper sides, I’d consider a self-adhesive metallic film, such as House of Brindle copper wrap.
Applying it to the exposed interior side panels would create the contrast shown in the illustration.
I’d remove the adjustable shelves before applying the film wherever possible, and carefully trim around the shelf-support holes.
This is also a good place to exercise restraint. Copper on the vertical sides is enough; covering every surface would lose the contrast that makes the design interesting.
5. Finish the Graphite Frontage
The final transformation comes from painting the MDF facing, door fronts and other exposed components in a consistent deep graphite shade.
For a similar colour direction, I’d investigate Little Greene’s Basalt No. 221, or Sherwin-Williams Iron Ore SW 7069.
Neither is intended as an exact match for this digital illustration. I’d take a sample or reference to a local paint retailer for colour matching and test the result under the actual room lighting.
For the best finish, the preparation matters. The foil-covered IKEA components need careful cleaning, light surface preparation where recommended, a suitable bonding primer and a compatible hard-wearing furniture paint.
Two other ways to style this BILLY alcove hack
A colourful Victorian-style alcove
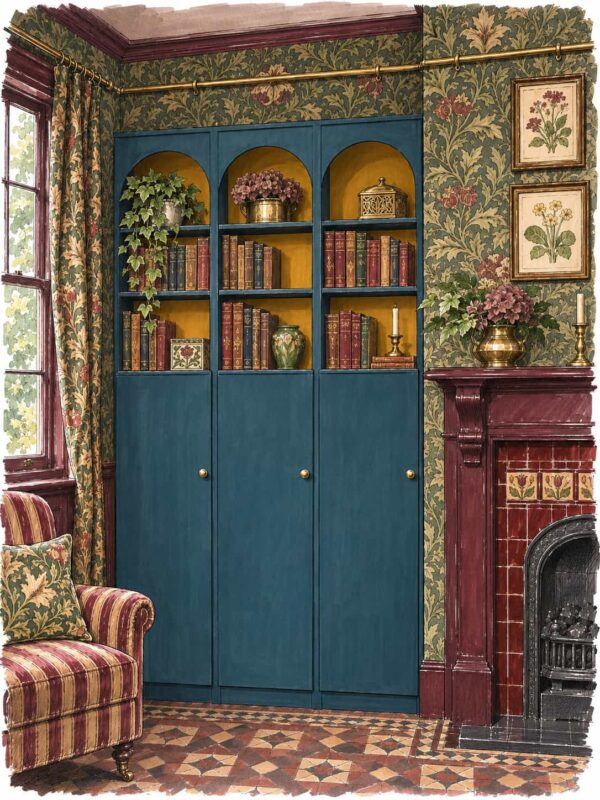
For a more traditional room, the same three-bookcase construction could be painted deep petrol blue, with warm ochre inside the open shelves.
Against patterned wallpaper, a tiled fireplace and dark timber details, the arches feel much more architectural.
I’d keep the cupboard doors plain for this version and use small brass knobs. It’s a simpler door treatment, but the surrounding colour and pattern do plenty of work.
Achieving the look would mainly involve a different paint treatment for the shelves and back panels, plus suitable preparation of the existing surfaces.
A chocolate-brown contemporary alcove
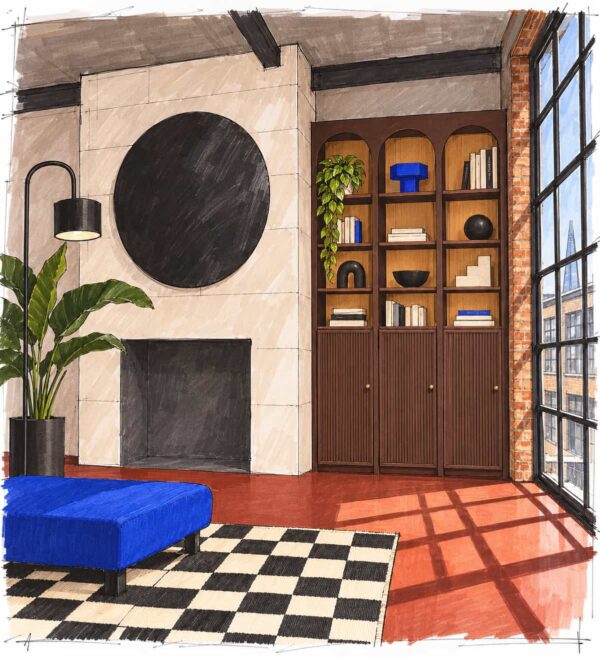
The chocolate-brown version takes the design in a completely different direction.
Here, warm wood-effect interiors contrast with dark framing and vertically reeded cupboard doors. The same narrow arches work beside an unused chimney breast in a much more contemporary room.
For this treatment, I’d add narrow reeding to the OXBERG fronts rather than the simple square beading used in the graphite design. It would take more cutting and careful spacing, but gives the doors a noticeably different character.
The wood-effect interiors could be retained from an appropriate IKEA finish or recreated with a suitable decorative surface treatment.
What to check before starting
Measure the alcove at the top, middle and bottom, and check that the walls are reasonably square. Three 40 cm bookcases need more than 120 cm of clear working space once finishing panels, fitting tolerances and uneven walls are considered.
I’d also check the relationship between the fireplace and the cabinetry. A working fire or stove introduces heat-clearance requirements that must be established for the specific appliance and installation.
The BILLY units need to be secured against tipping using appropriate fixings for the wall, and any decorative facing must not obstruct those fixings or the doors.
Finally, remember that 3 mm MDF is a decorative facing material here, not a structural support. The original BILLY units still do the work.
For me, the appeal of this hack is that the arches look like a major alteration, but the underlying furniture remains straightforward. It’s the proportions, the continuous front panel and the combination of finishes that give three ordinary bookcases their fitted appearance.